How to Create Areas, Lines, and Counts
Togal.AI
|
AI estimating software, Togal.AI, includes tools to manually create areas, lines, and counts. Detailed directions below:
Table of Contents
Creating Areas
Removing a Point
Viewing Dimensions
Within The Quantities Panel
Hovering a Cursor Over a Polygon
Adding to an Existing Classification
Adjusting the classification
Creating lines and counts
Counting Elevators
Creating Areas at Togal.AI
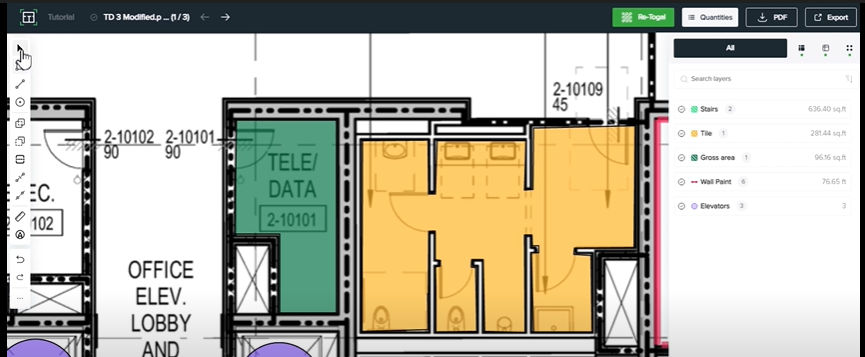
Measure the area of the tele-data room below:

First, within a drawing click the “draw polygon” icon at the top left corner or press “p” on the keyboard.
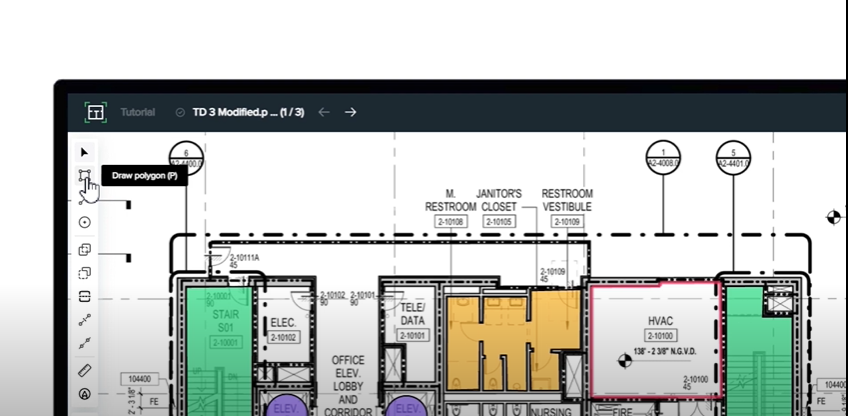
Select the points to draw. Holding “shift” will create 90 degrees corners.
Removing a Point
If a point is put in the wrong place, pressing “Z” on the keyboard will remove the last placed point. To complete a polygon, double-click or press “enter”. If a polygon is completed, double clicking a point will remove the point from the polygon.

Viewing Dimensions
Within The Quantities Panel
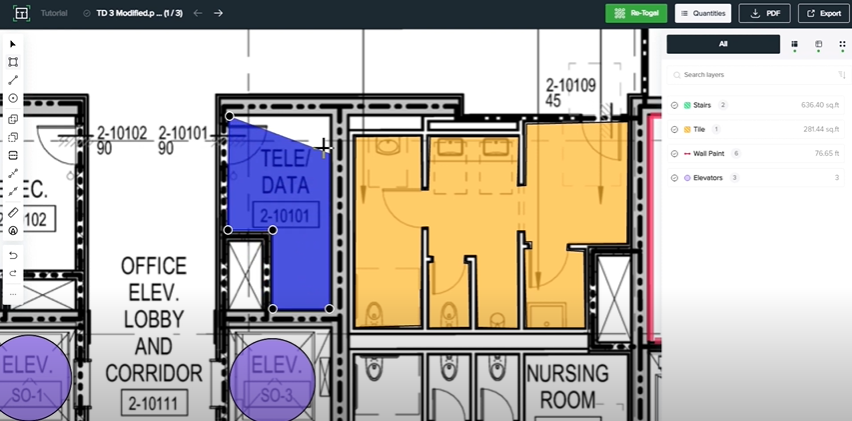
Within the quantities panel, the polygon just drawn will be shown as default under the gross area classification.
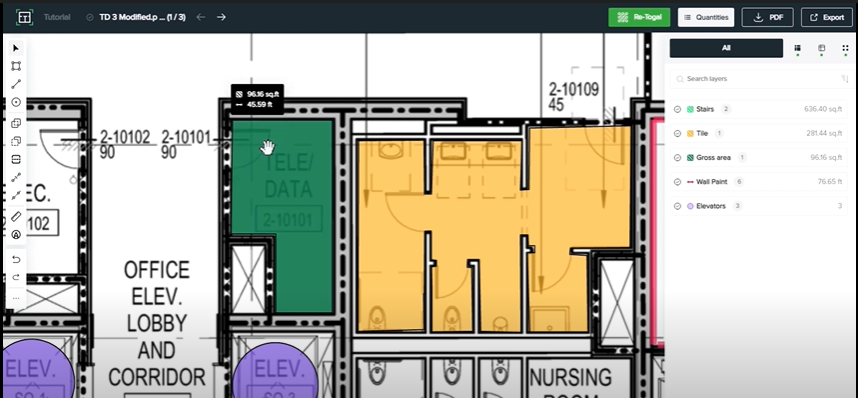
Hovering the Cursor Over the Polygon
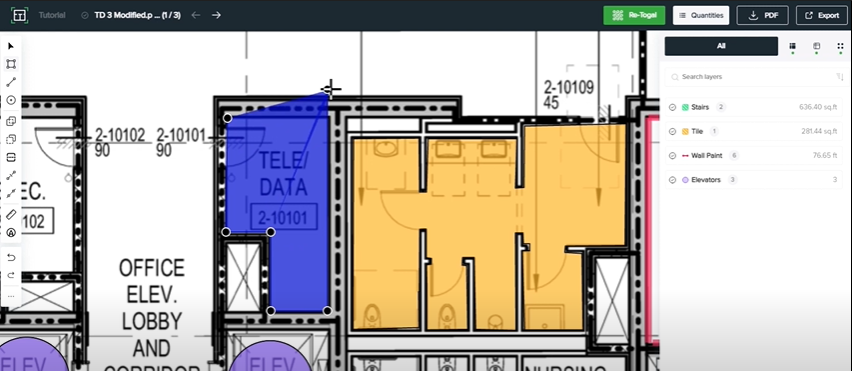
When hovering the cursor over a polygon, the area and linear dimensions will display above.
Adding to an Existing Classification
To draw an area with an existing classification, select the classification in the quantities panel and repeat the same process.

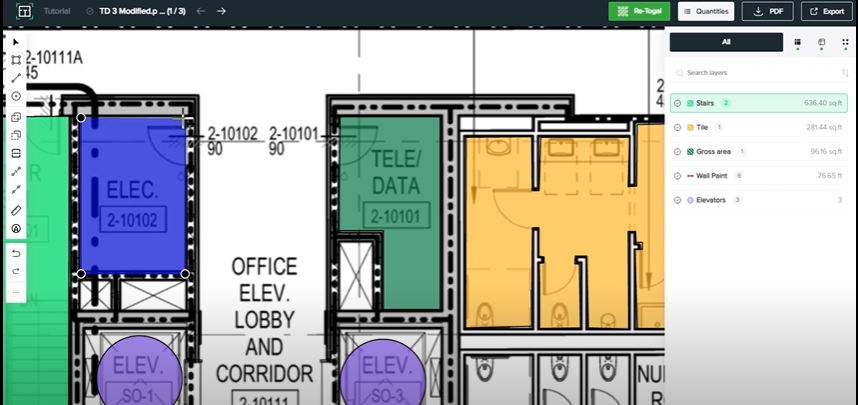
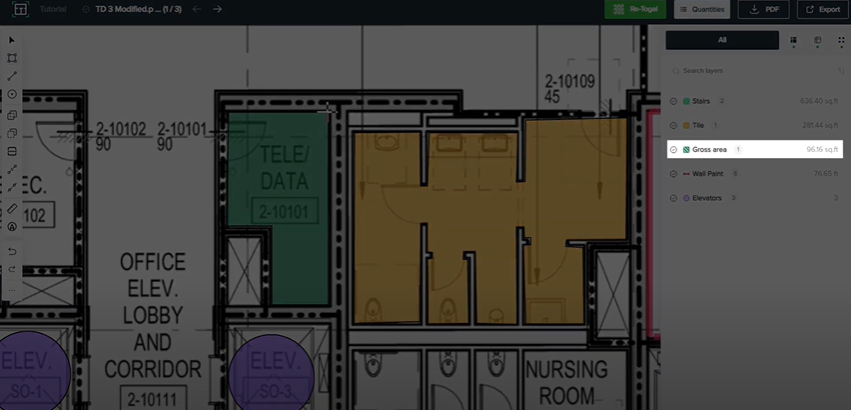
Adjusting the classification
Right-clicking an area will display the list of classifications. Select the correct corresponding classification to link the area. Multiple areas can be classified at once if multiple are selected.

Creating Lines and Counts
Similar to areas above, create the linear takeoff for the walls of the room below:
Click on the “draw line” icon or press “L” on the keyboard.
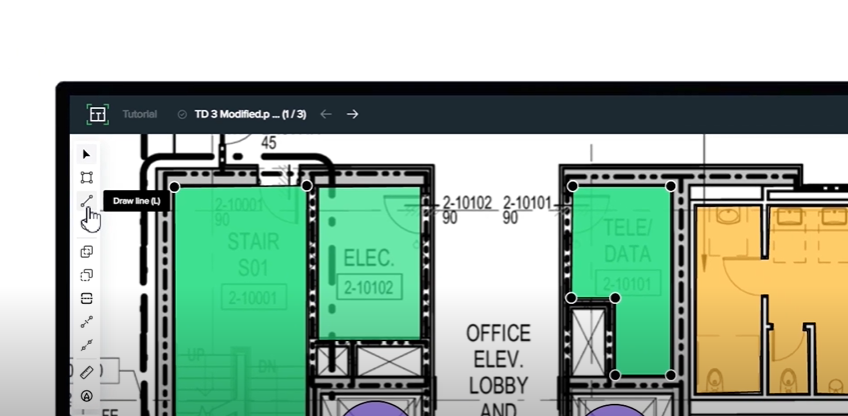
Draw the lines around the room as seen below:

Apply an existing classification in the same way explained above. Counts are created in the same manner.
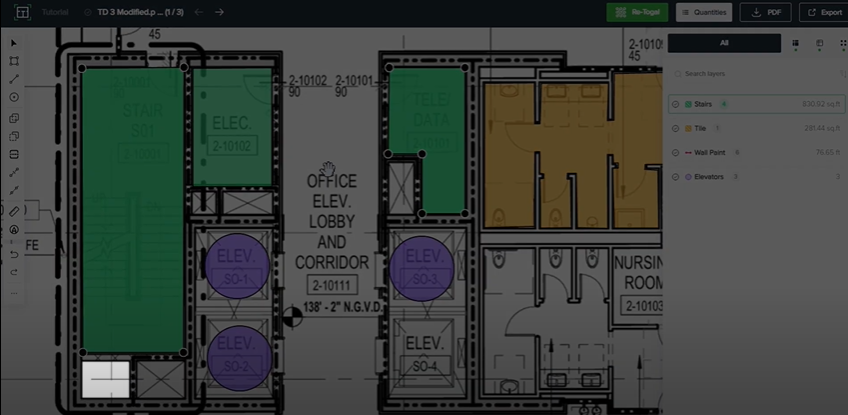
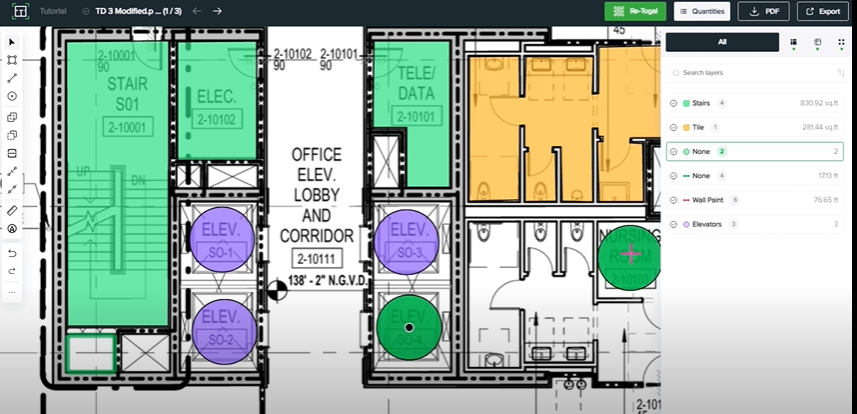
Counting Elevators
There are three elevators shown in the drawing below:

To count the additional fourth elevator, select the “draw point” icon or select “K” on the keyboard.
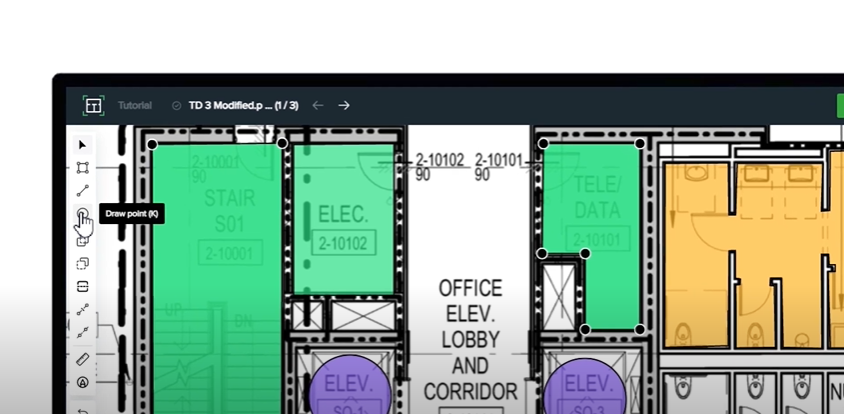
Click the object to count.

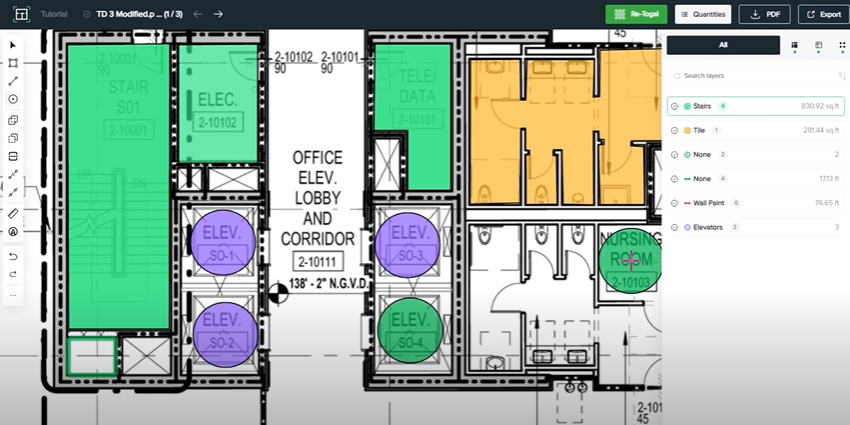
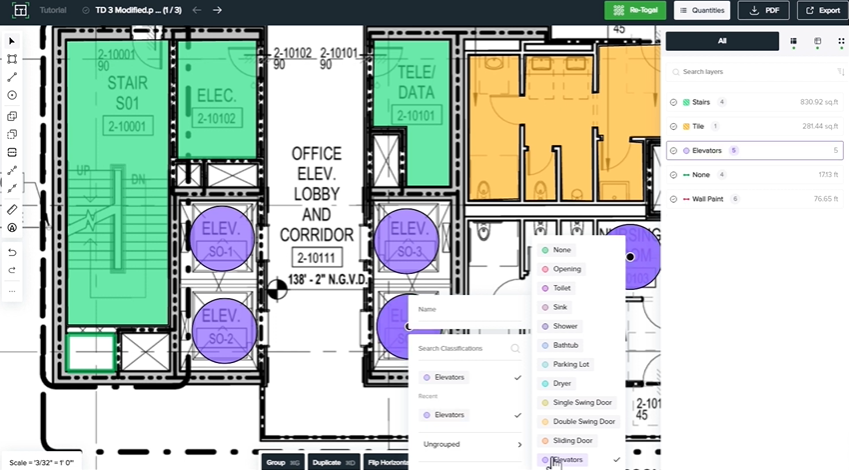
As a classification has not been selected before drawing, see below to manually classify the count:
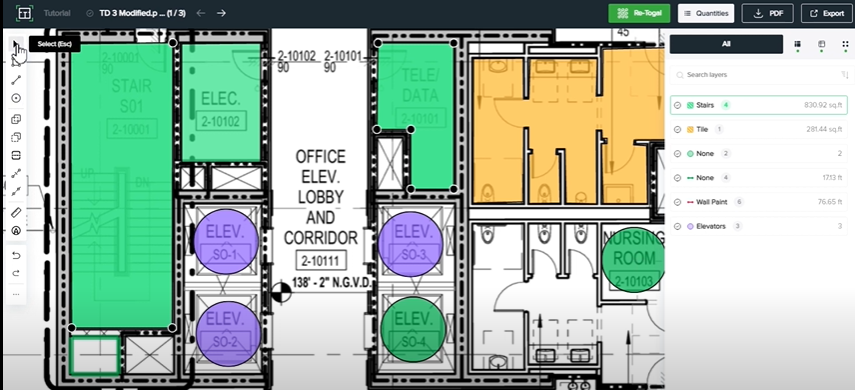
Select the new counts by left-clicking on the point while holding “shift”.
Right-click on one and select the corresponding classification.
This tutorial should have shown how to easily draw areas, lines, and counts within Togal.AI. To learn more about how Togal.AI can integrate with your workflow, request a demo.
Learn How to Use Other Togal.AI Features with These Tutorials
- Create New Projects and Upload Drawings to Togal.AI
- Creating Classifications with Togal.AI
- Automatically Name Drawings in Togal.AI
- How To Compare Drawings in Togal.AI
- How to Classify Walls In Togal.AI
- How To Import Drawings From Procore
- Exporting Quantities and Takeoffs From Togal.AI
- Improve the Precon Workflow Using the Editing Tools in Togal.AI
- Auto-Classify Areas Using the Automatic Classification Feature Within Togal.AI
- Set Project Quantities Using the Quantities Panel in Togal.AI
- How To Create Classification Groups With Togal.AI
- Set the Project Scale in Togal.AI
- With Togal, Classify Different Items of Your Project